Learn the commands to install Joomla CMS on Ubuntu 22.04 LTS Jammy JellyFish Linux to start your own blog or website.
On the Internet, after WordPress, Joomla is another popular open-source content management system to start with. The software is often offered for your own websites.
It is a widely used CMS (Content Management System) that allows you to create and manage web projects.
Being an open-source project, it is not only free but also constantly being further developed by the community.
The core functions of Joomla can be extended as required by components, modules, and plugins. Generally suitable for websites whose content changes frequently or is constantly being expanded. These are, for example, blogs, shops, or communities.
However, to program CMS pages with Joomla you need knowledge of PHP. You should also be at least somewhat familiar with databases. Whereas, the administration of the site can be taken over by anyone who has basic knowledge of word processing and image editing. Writing and publishing your own texts works in just a few steps. Programming skills are not necessary for this.
For Joomla, there are some websites with free templates. These then show your website in an individual design.
Of course, with a little knowledge, you can also create your own Joomla templates. To get started here is the guide to help you install Joomla on Ubuntu 22.04 LTS Linux.
Steps to install Joomla CMS on Ubuntu 22.04 LTS Linux
The installation of PHP-based Joomla is not a difficult task. To follow this tutorial you just need to make sure you have Ubuntu 22.04 Server and access to a user with sudo rights.
1. Update Ubuntu 22.04
First, make sure your Ubuntu server is up to date. This will install all the available latest updates available for the server to get installed.
sudo apt update && sudo apt upgrade
2. Install the LAMP Server
To run Joomla up and running, we need the LAMP stack that stands for – Linux, Apache, MySQL, and PHP. Well, on Ubuntu we can install all of them using a single command given below.
sudo apt install lamp-server^
Also, install the required PHP extensions:
sudo apt install php php-common libapache2-mod-php php-cli php-fpm php-mysql php-json php-opcache php-gmp php-curl php-intl php-mbstring php-xmlrpc php-gd php-xml php-zip
Also, configure the values for PHP.ini below are suggested values only.
Edit the PHP in the file
sudo nano /etc/php/*/apache2/php.ini
And change the values of the following lines shown below:
memory_limit – 128M or better
upload_max_filesize – Set minimum to 30M
post_max_size – Set the Minimum to 30M
max_execution_time: Recommended- 30
to save the file use ctrl+O hit the Enter key and then use Ctrl+X to exit.
3. Create Joomla Database
After installing the Lamp server, you will automatically have the MySQL Database on your Server. Now, let’s change the root user password of the Database server and also create one user and database to use with Joomla to store data.
First, secure your MySQL database server by creating a new root password and removing the demo database, users, and limited remote access.
Login to MySQL
sudo mysql
Change the root user password for MySQL to whatever you want, however, don’t forget to replace [email protected] in the given command with the password you want to set.
ALTER USER 'root'@'localhost' IDENTIFIED WITH mysql_native_password by '[email protected]';
exit;
Run command to secure MySQL installation:
sudo mysql_secure_installation
The script will ask these questions.
Enter the password for user root: type your set password and then press ENTER.
Change the password for root? Press N, then ENTER.
Remove anonymous users? Press Y, then ENTER.
Disallow root login remotely? Press Y, then ENTER.
Remove test database and access to it? Press Y, then ENTER.
Reload privilege tables now? Press Y, then ENTER.
Create Database
To store the data generated by the Joomla, we need a Database server, here we are using MySQL. So, let’s create a Database for Joomla using the given commands:
Login to MySQL DB server
sudo mysql -u root -p
Note: Use the password to log in that you have created while securing MySQL.
Follow the command to create a new DB. However, don’t forget to replace new_user with whatever name you want to give to your Database user and in the same way- new_db with a name for Database and your_password for the password.
CREATE DATABASE new_db;
CREATE USER 'new_user'@'localhost' IDENTIFIED BY 'your_password';
GRANT ALL PRIVILEGES ON new_db.* TO 'new_user'@'localhost';
FLUSH PRIVILEGES;
Exit;
4. Download the Joomla release
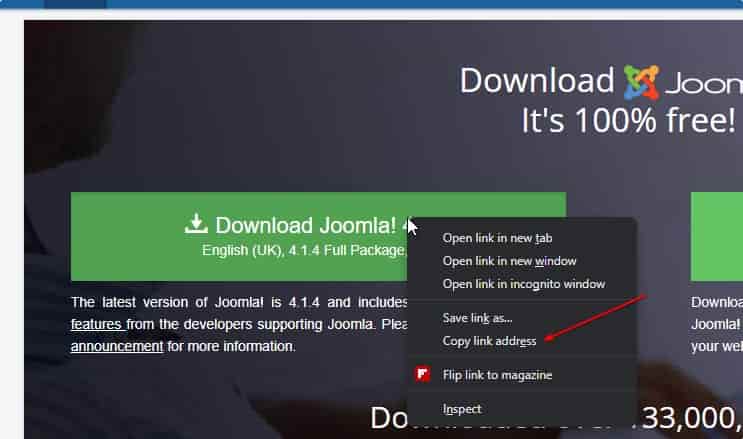
Just like WordPress, Joomla is also not available to install using the default system repository of Ubuntu 22.04. Hence, we have to manually download it. For that, visit the official download page of Joomla and get the release of this CMS you want to have on your system.
Click on the Download button. Alternatively, you can download it using the ‘wget’ command-line tool.
wget past-link
For example:
wget https://downloads.joomla.org/cms/joomla4/4-1-4/Joomla_4-1-4-Stable-Full_Package.zip
5. Install Joomla on Ubuntu 22.04
Once the Joomla setup file is on your system, extract it and move the same to the web root directory of your Apache server.
sudo apt install unzip
Extract and move:
unzip Joomla_*-Stable-Full_Package.zip -d /var/www/html/joomla
Set Apache permission for move folder:
sudo chown -R www-data:www-data /var/www/html/joomla/
6. Create Apache virtual host configuration for Joomla
To host multiple websites on the same web server, it is a good idea to create a virtual host configuration file on the Apache webserver. So, we can deliver and control the serving of the website which is Joomla CMS here.
nano /etc/apache2/sites-available/joomla.conf
Copy-paste the following lines:
<VirtualHost *:80>

ServerAdmin [email protected]
DocumentRoot /var/www/html/joomla/
ServerName your-domain.com
ServerAlias www.your-domain.com

<Directory /var/www/html/joomla/>
Options FollowSymlinks
AllowOverride All
Require all granted
</Directory>

ErrorLog ${APACHE_LOG_DIR}/error.log
CustomLog ${APACHE_LOG_DIR}/access.log combined

</VirtualHost>
Save the file by pressing Crtl+O, after that hit the Enter key, and then to exit the file editor use Ctlr+X.
After that disable the default page:
sudo a2dissite 000-default.conf
Enable your newly created Joomla website
sudo a2ensite joomla.conf
Enable the required Apache modules
sudo a2enmod rewrite ssl rewrite
Restart the Apache webserver service to apply the changes
sudo systemctl restart apache2
Also, don’t forget to open port 80 if you have an active firewall:
sudo ufw allow 80/tcp
7. Set up Website
Now, open your local browser that can access the server-ip-address or domain pointed to your Ubuntu 22.04 Server where you have installed the Joomla CMS.
For example:
http://server-ip-address
or
http://your-domain.com
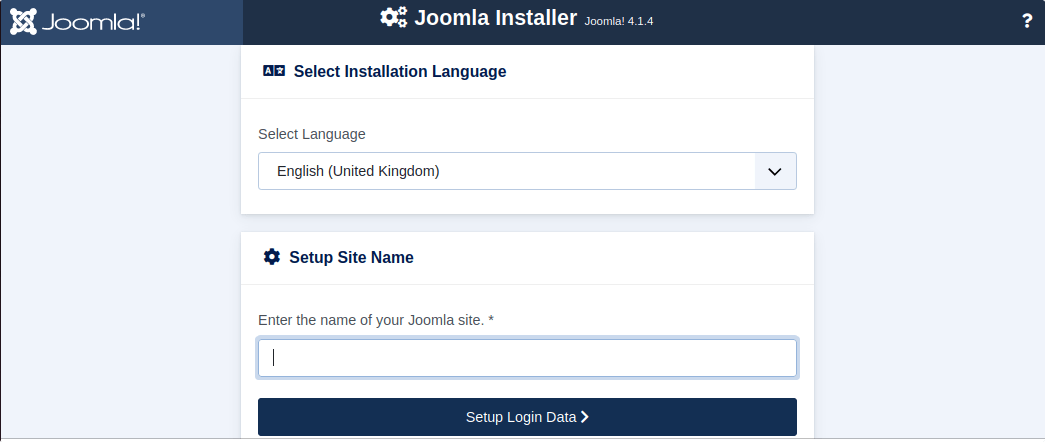
Select the language in which you want to start the installation process.
8. Create Super User Account
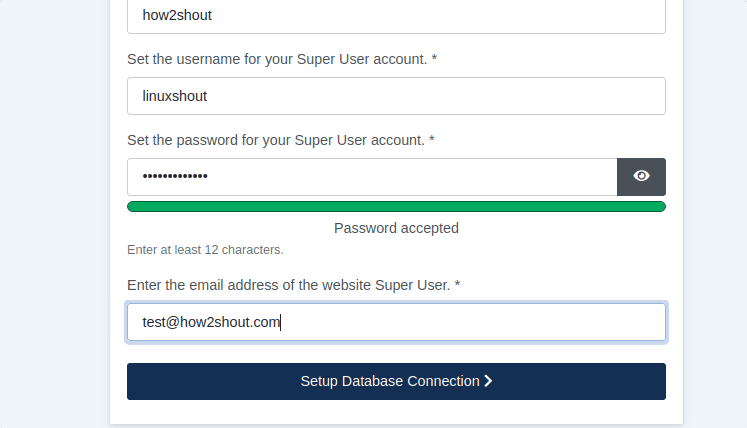
Create the account by setting up the username and password that you want to use to log in to the Joomla Administrator backend.
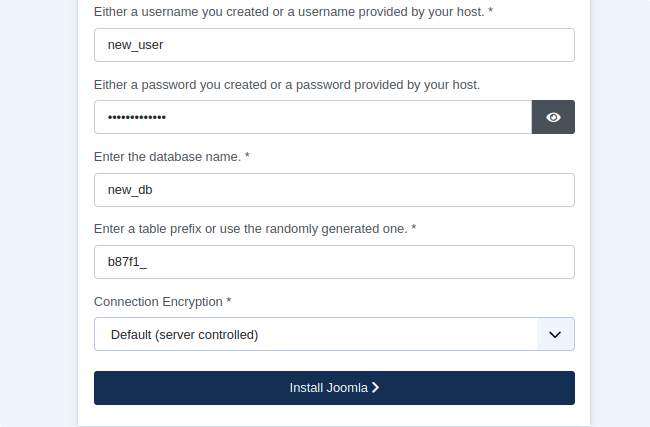
After that enter the details of MySQL DB such as Database name, username, and password set for the same.
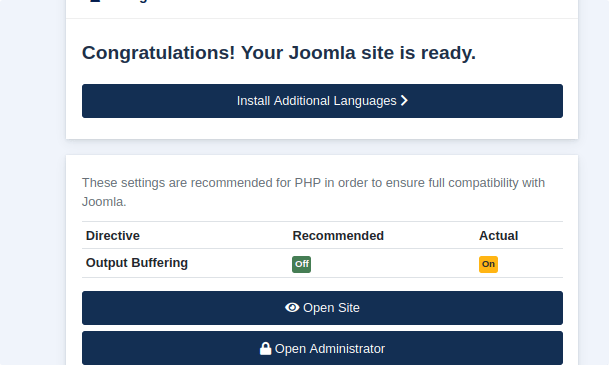
Soon, you will have the message that the website is ready to use. To access your the default website page click on the “Open Site” button. Whereas, for the “Admin backend” use the “Open Administrator” button.
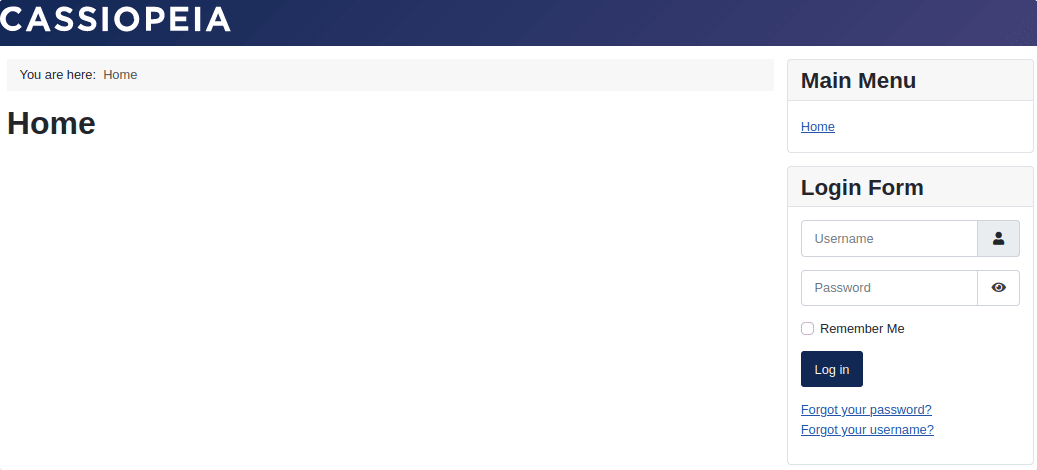
Default Web page:
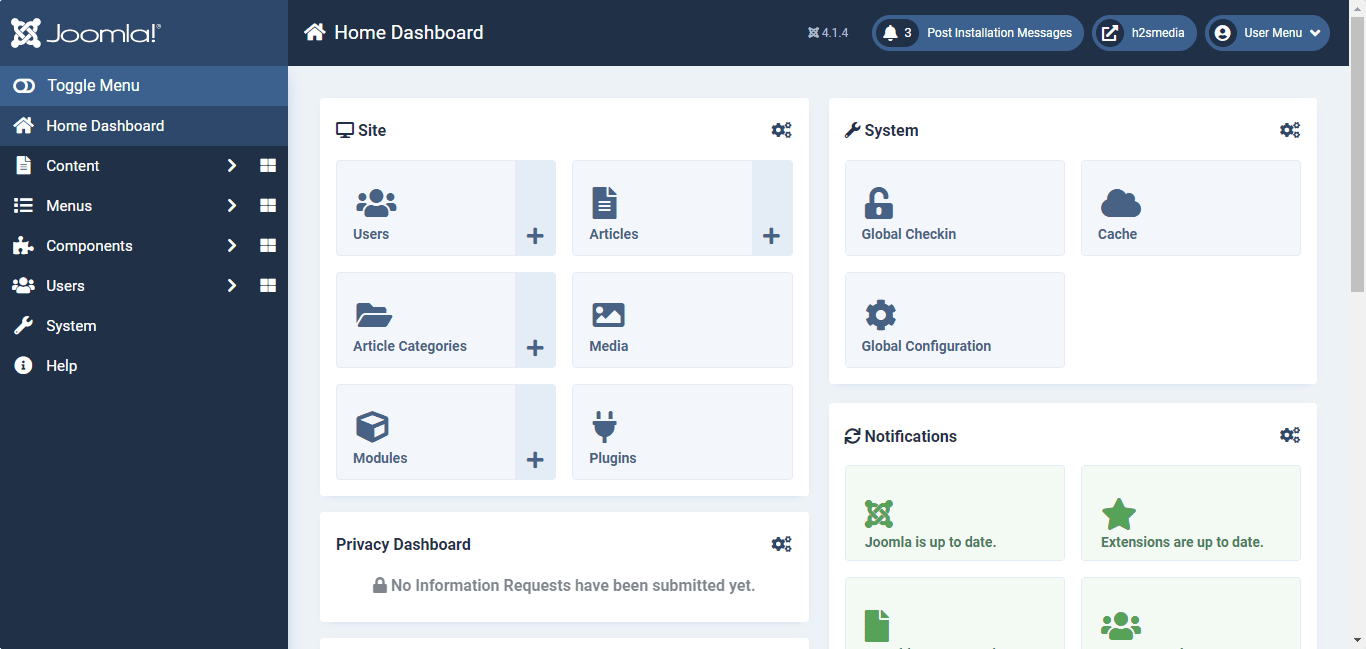
In case, later you want to log in to your Joomla admin backend. Just add administrator at the end of the website URL.
For example:
http://your-domain.com/administrator
or
http://server-ip/administrator
Other Articles:
♦ How to Install WordPress on Ubuntu 22.04 LTS Server
♦ How to install Backdrop CMS on Ubuntu 22.04 Jammy
♦ Install Jellyfin Media Server on Ubuntu 22.04
♦ How to install Plex Client on Ubuntu 22.04